
DIY: Worm Composting Bin
Posted by Lea Dyga on Jul 24th 2019
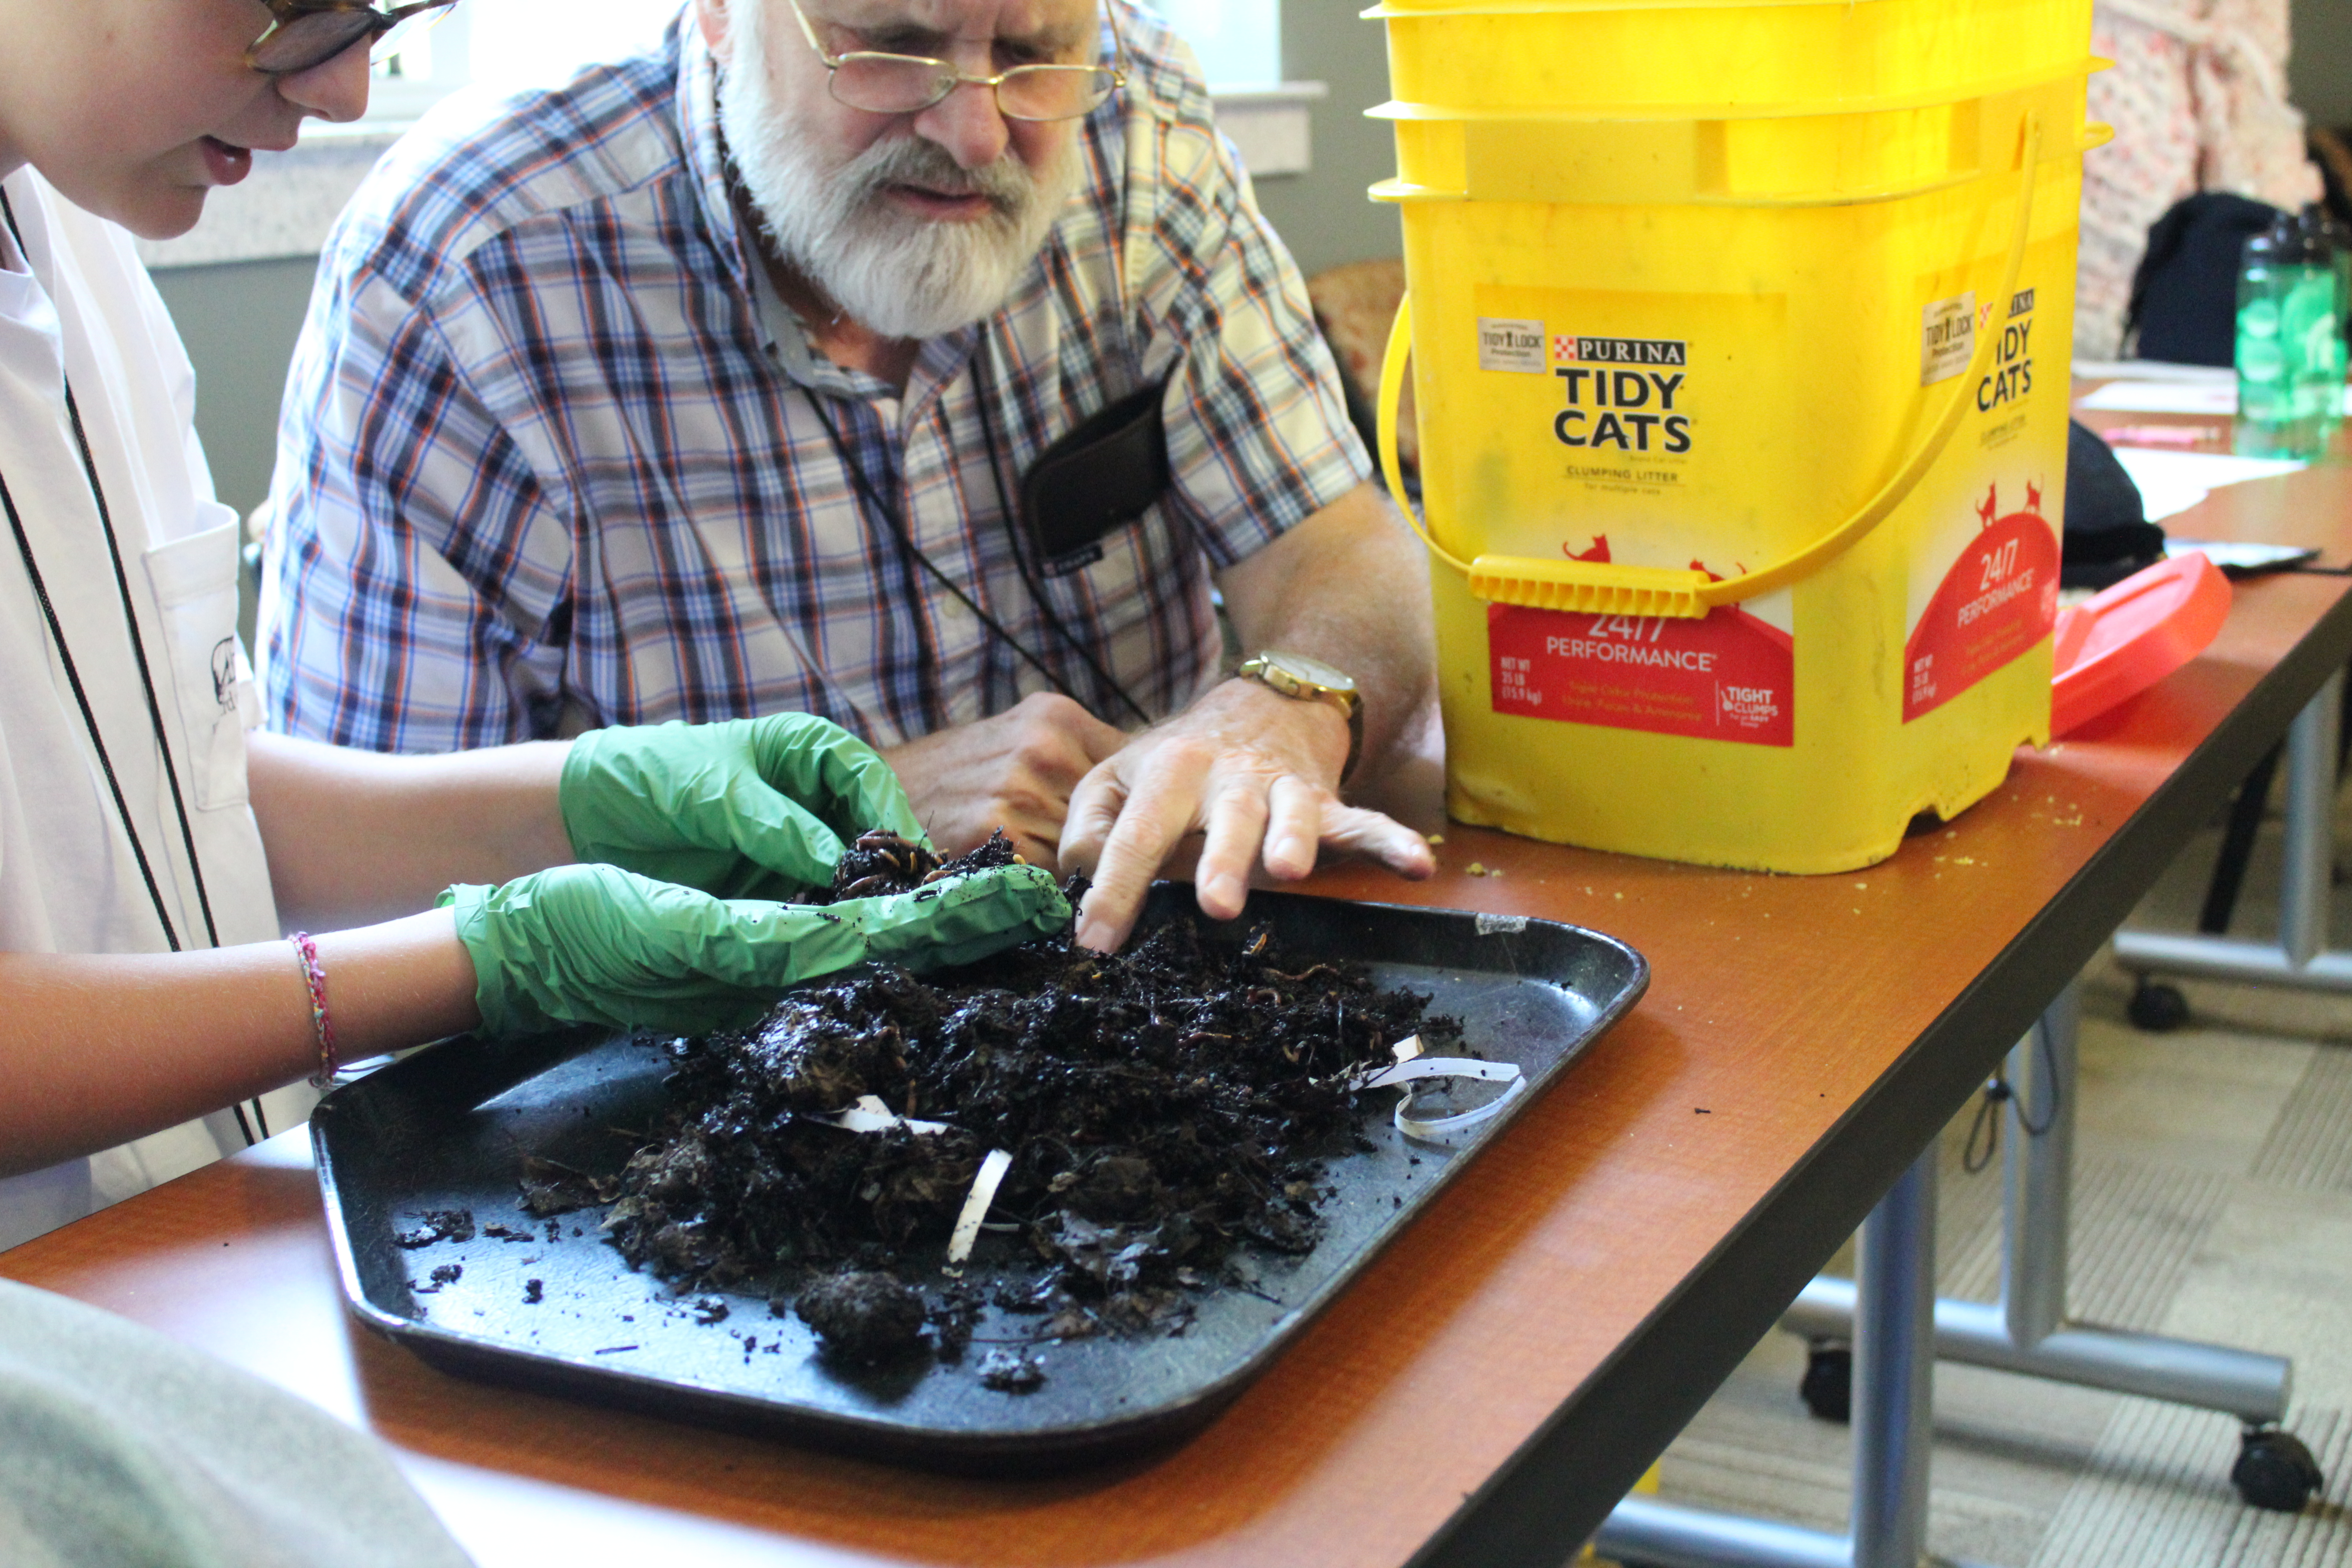
When it comes to vermicomposting, worms deserve all the credit. These tiny creatures, which have been around for thousands of years, eat our food scraps and transform otherwise wasted resources into a nutrient-rich fertilizer that replenishes the soil.
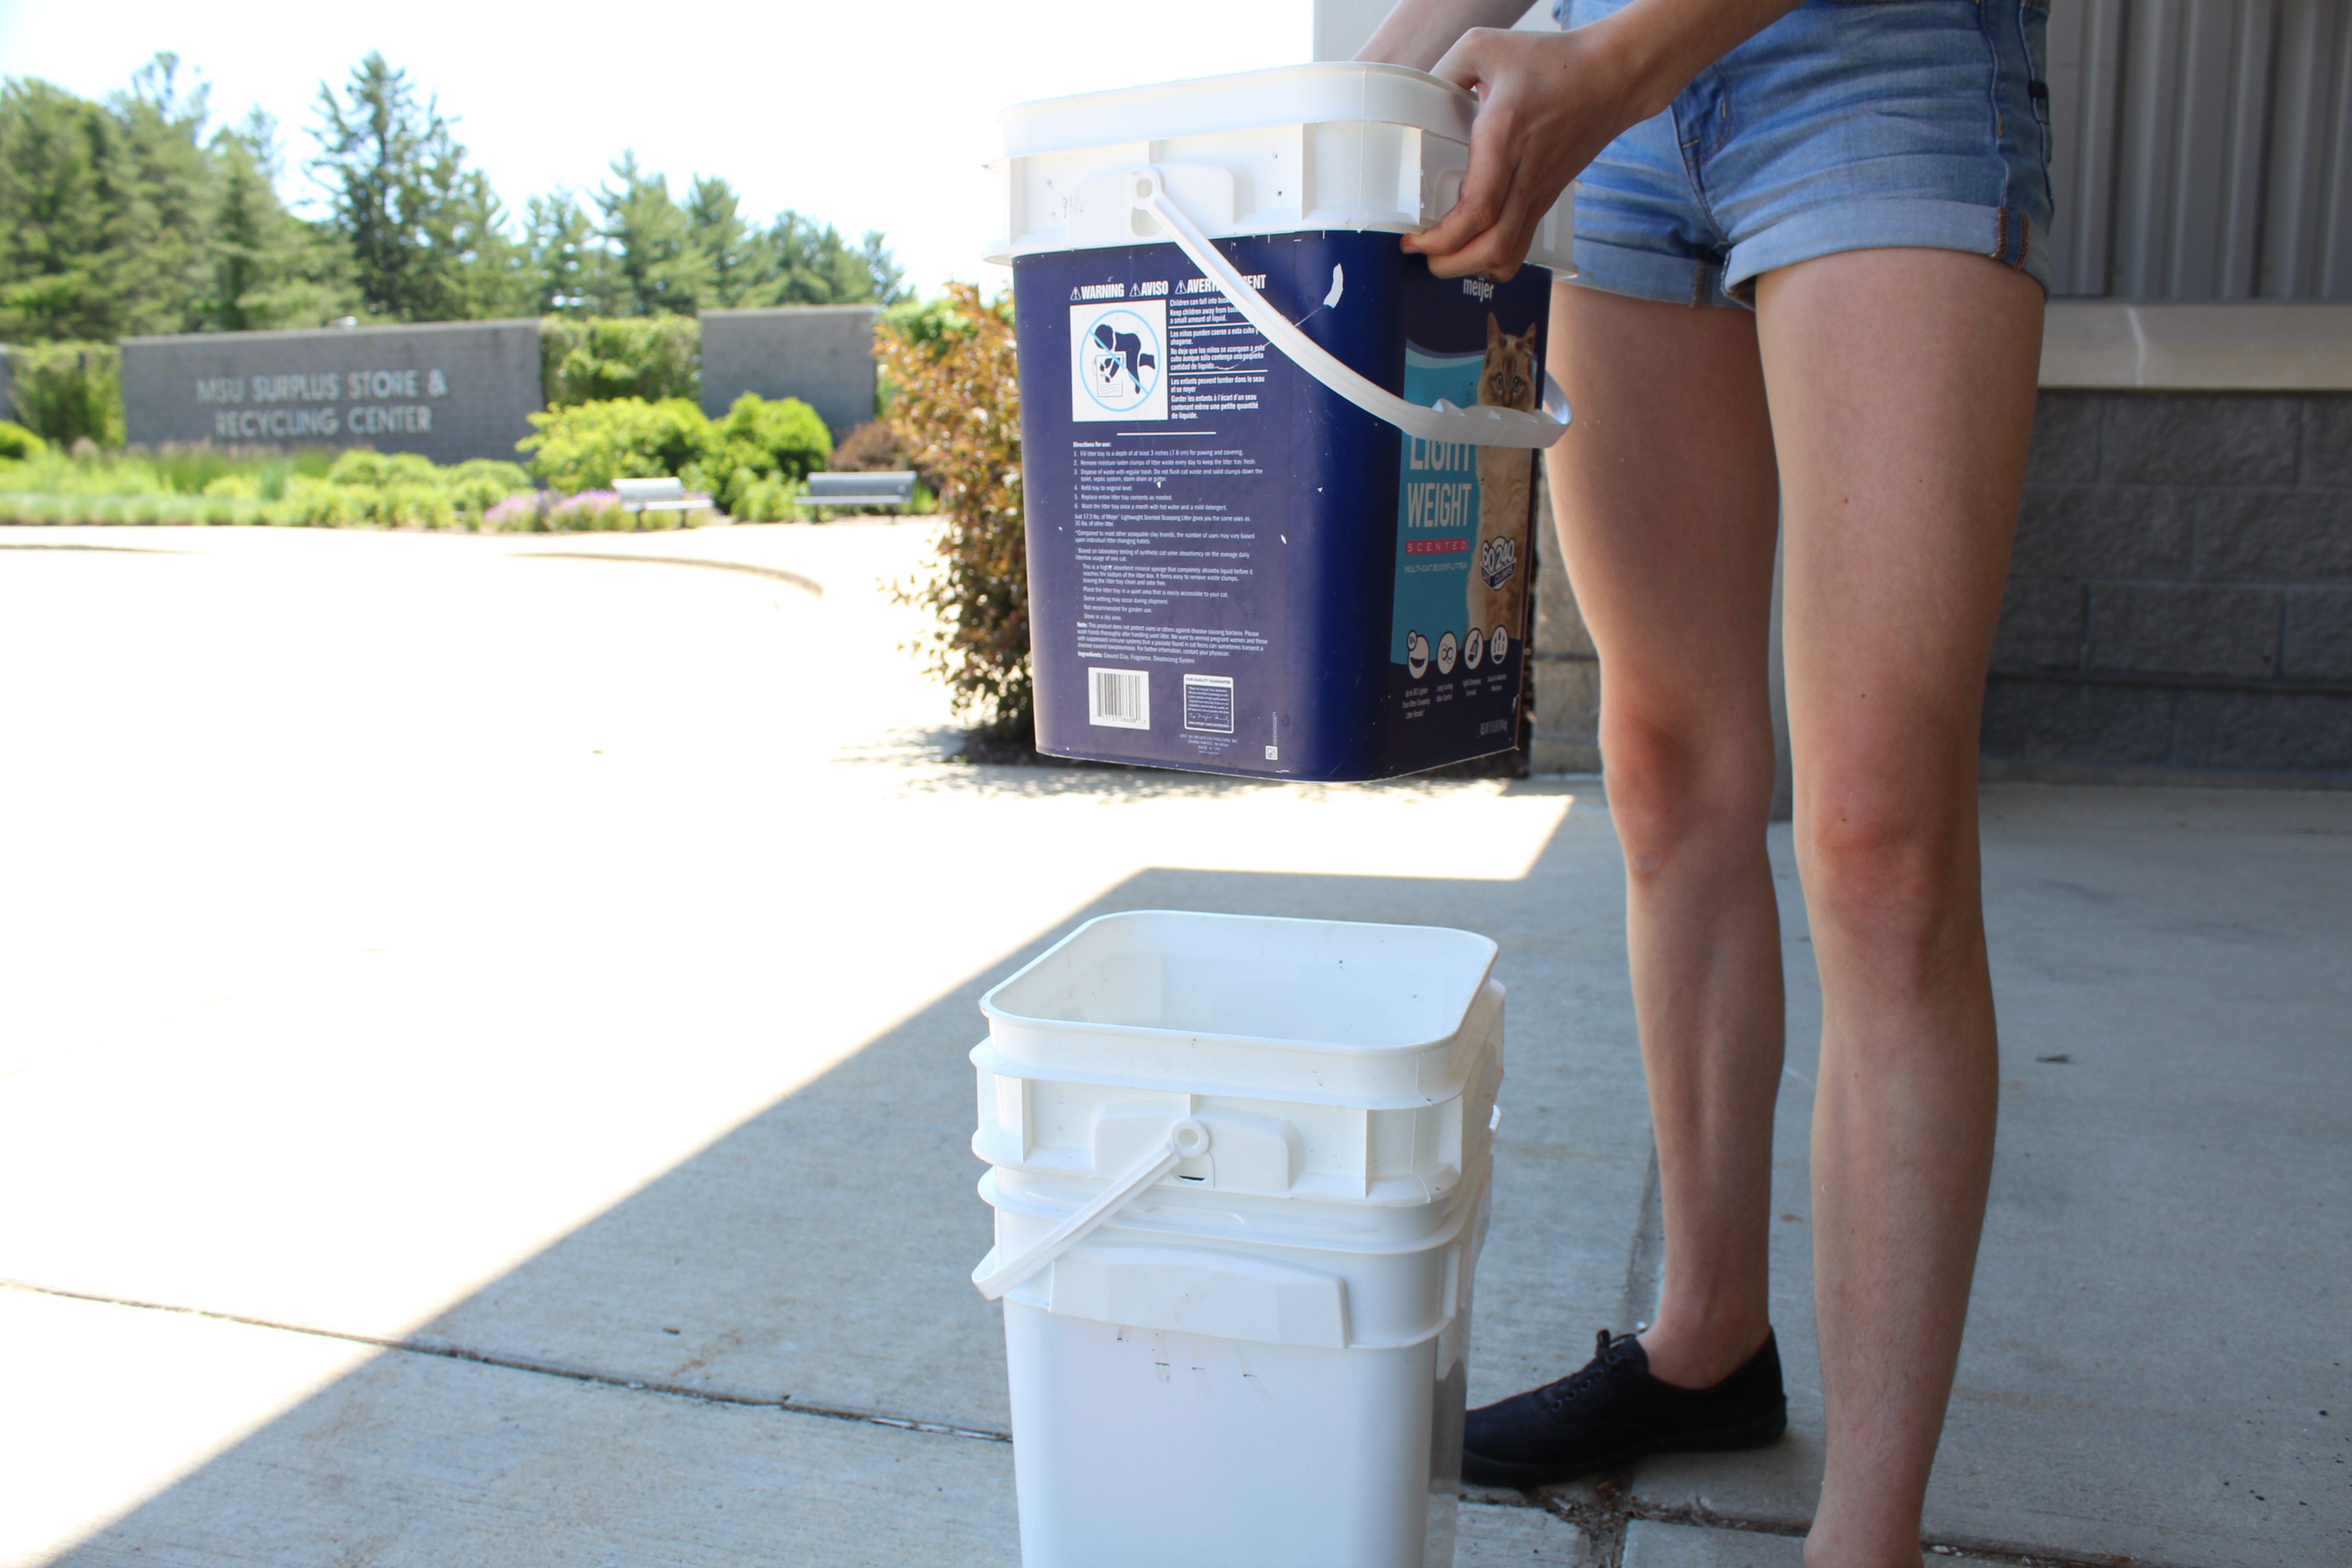
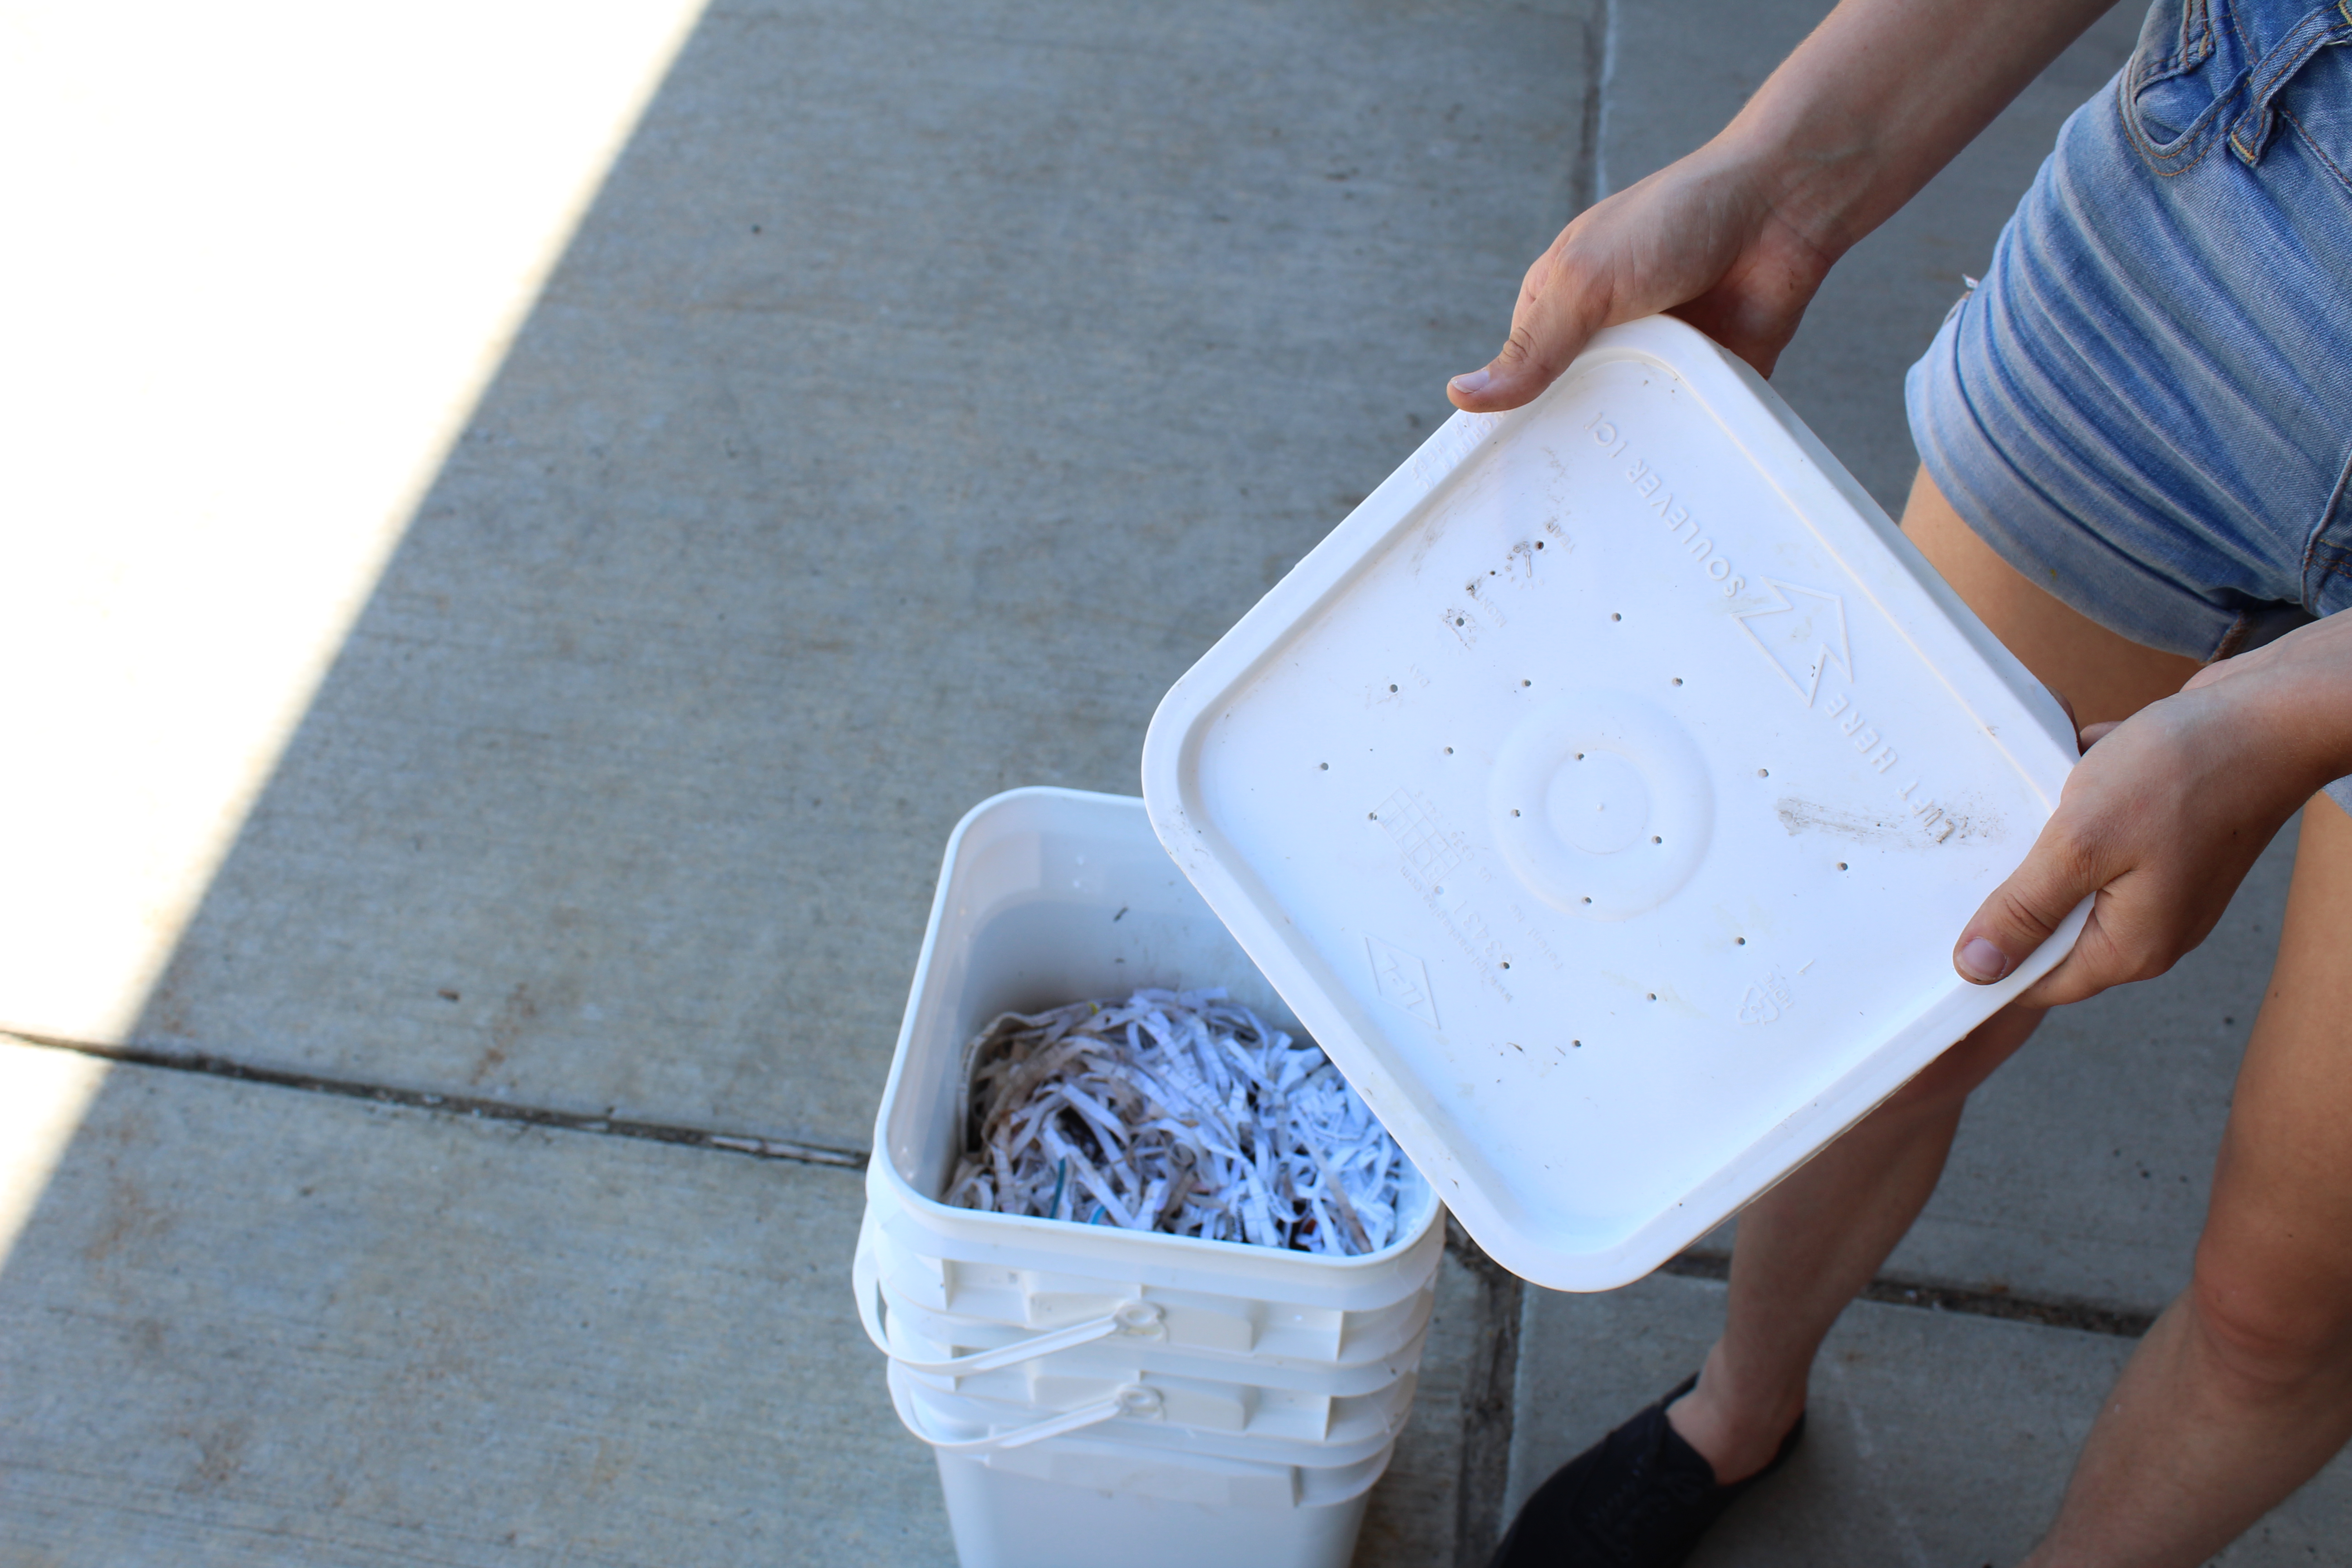
Longtime worm enthusiast and SSRC diversion coordinator, Sean Barton, recently led two sessions of a DIY vermicomposting class as part of MSU’s 14th annual Grandparents University (GPU). Barton and a handful of SSRC student employees guided Spartan alumni and their grandchildren through the construction of upcycled worm composting towers, made exclusively of discarded kitty litter buckets collected in our material recovery facility (MRF). The buckets were converted into a habitat for the red wigglers (Eisenia fetida) by drilling holes for ventilation and migration, and adding shredded paper from our MRF. Once the towers were built, participants had the opportunity to take home a half-pound of worms, or about 400 red wigglers, in their new vermicompost bins.

Under the right conditions, these composting superheroes can consume their weight in food scraps every day, which is a pretty valuable skill considering Americans toss an average of one pound of food per person per day. When we don’t compost, our food scraps accumulate in the landfill and release methane gas (a potent greenhouse gas) as it decomposes in the garbage pile’s anaerobic conditions. Reducing our food waste by portioning our meals better, coupled with composting, is a tangible way to help fight climate change.
“I watched [the landfill near my house] grow as a child, and I knew that was wrong,” said Sean. When he discovered the power of worms to slow that growing trash mound, he got down to business. For seven years, Sean and his wife lived without a garbage can, relying instead on MSU’s Recycling Drop-Off Center and his wiggler colony. “I think a lot of people like the idea of composting and it’s a way you can be the change,” said Sean. “Vermicomposting is something you can do in a residence hall or studio apartment. There's no smell.”
Being sustainable doesn’t have to stink!
Continue your eco journey with our DIY Vermicomposting Tower Tutorial, below. This step-by-step guide is based on the bucket system created by Sean Barton.
HOW TO MAKE YOUR OWN VERICOMPOST BUCKET TOWER
What you’ll need:
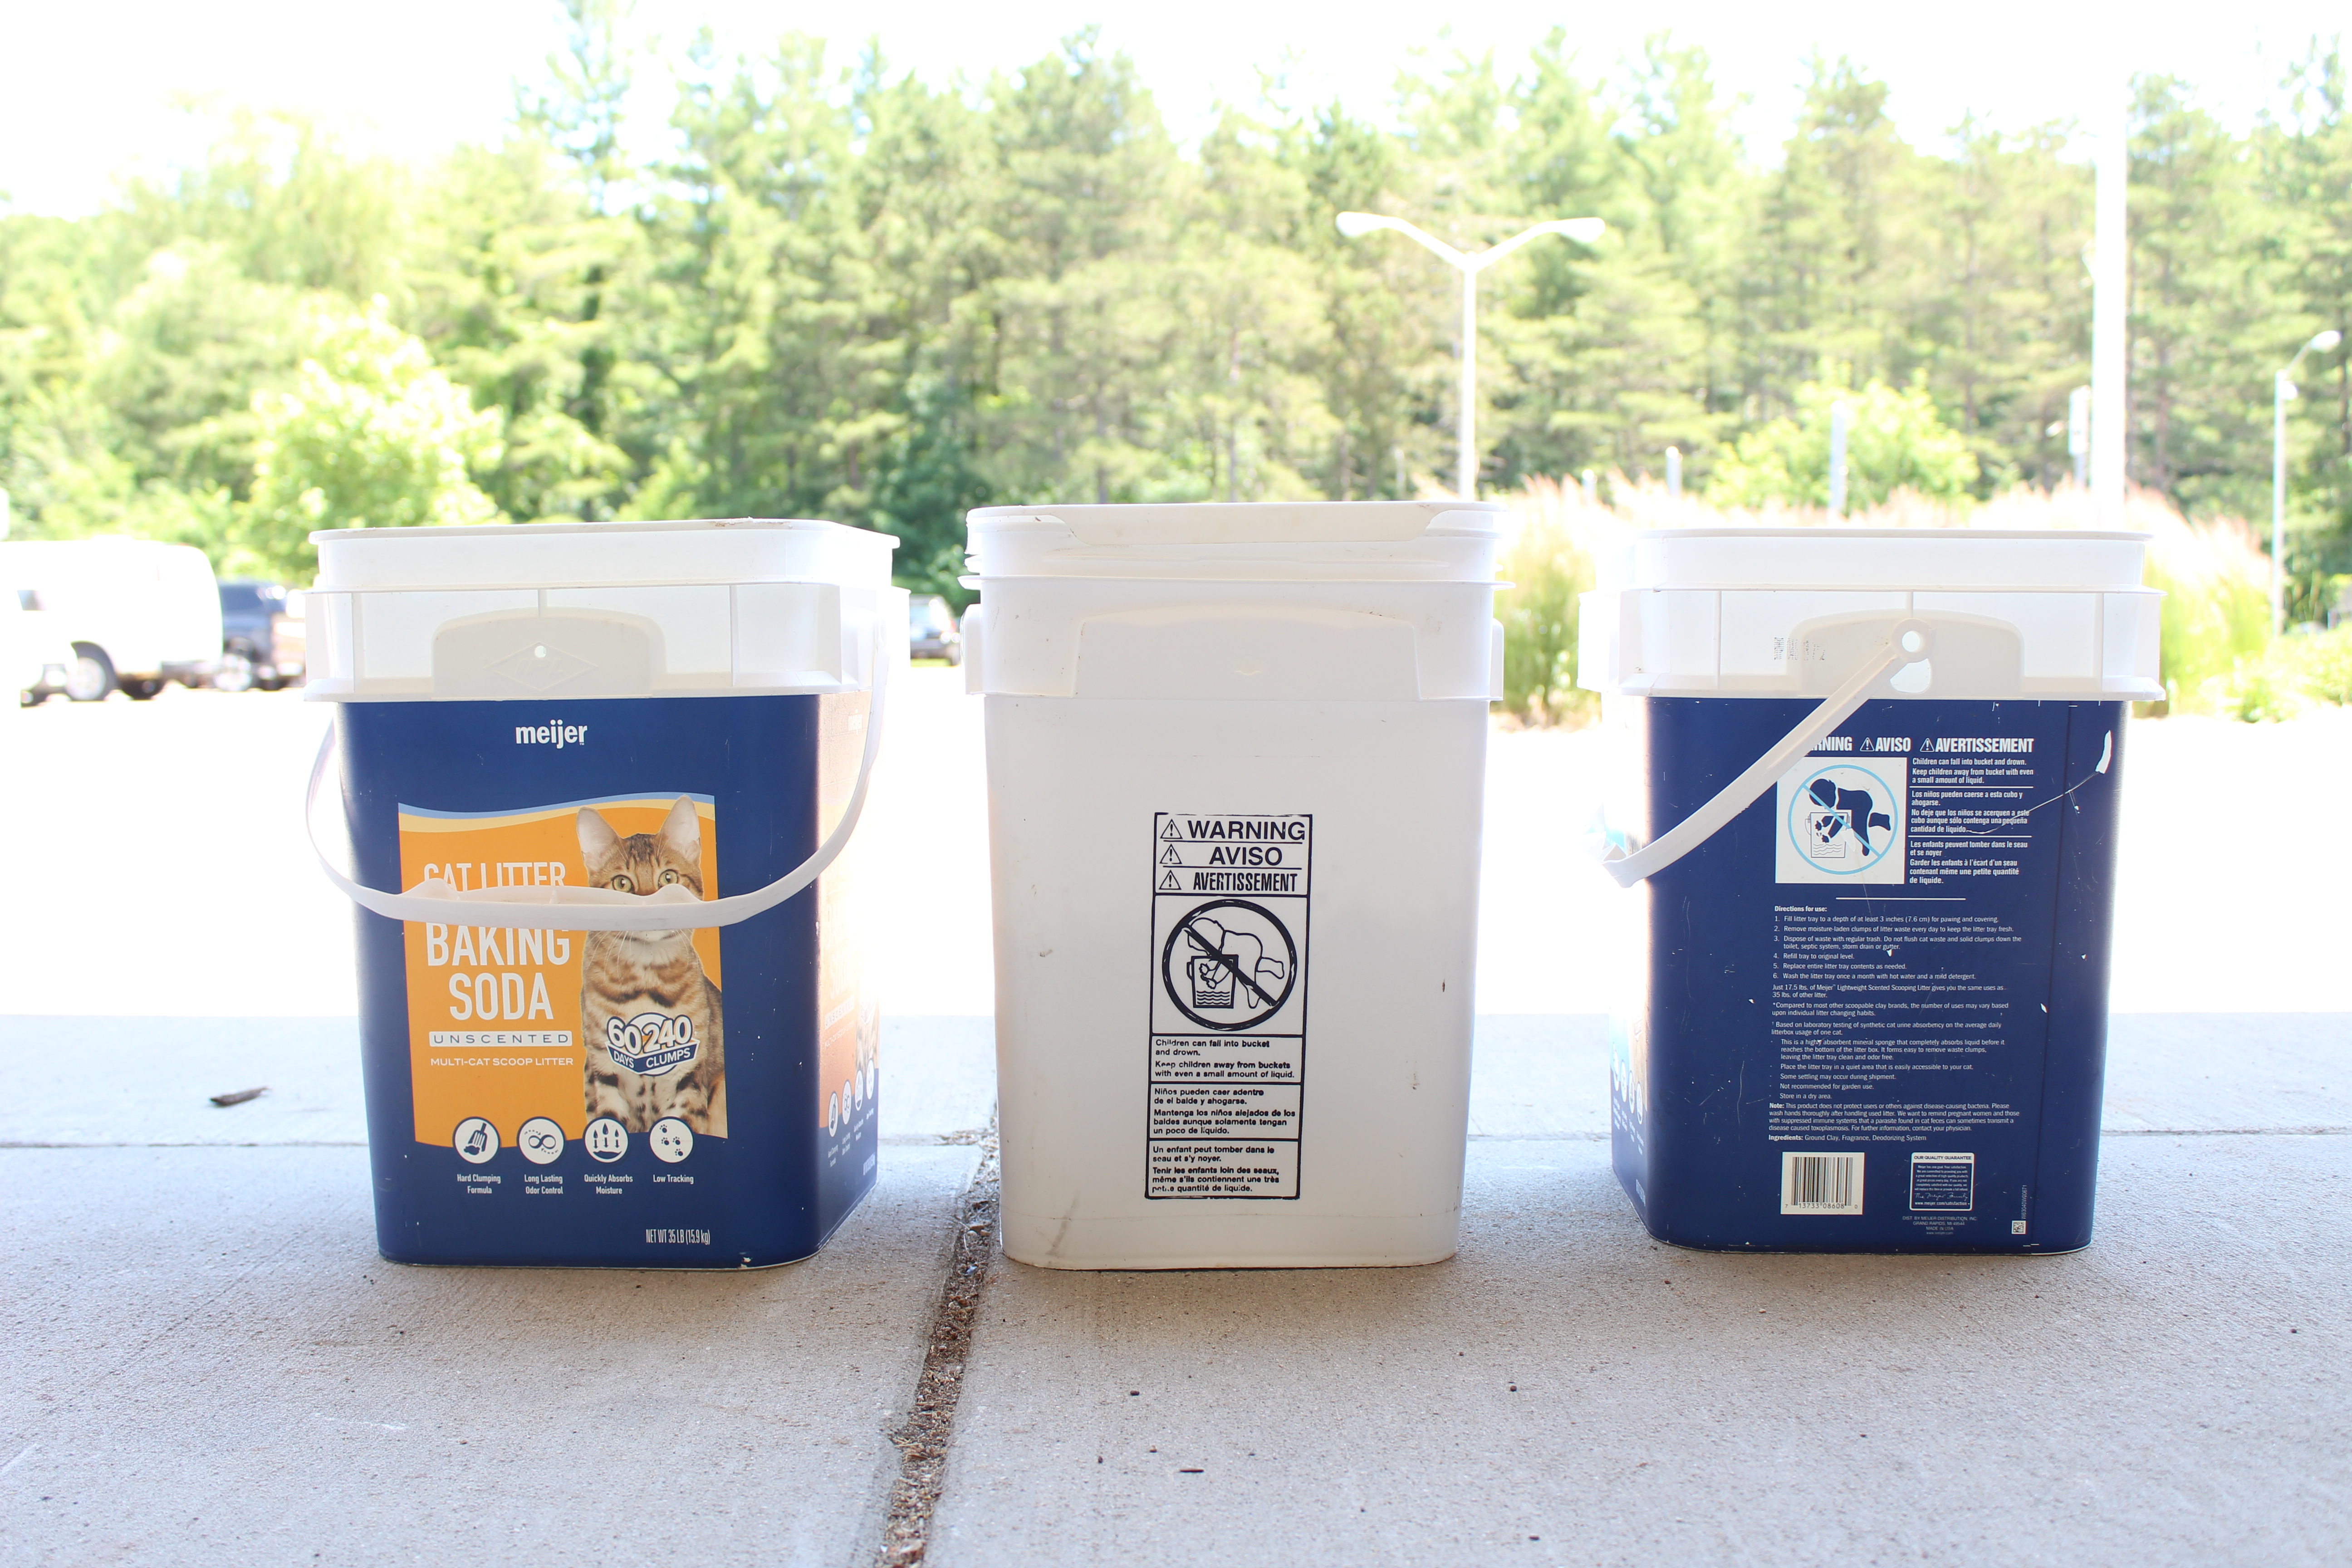
- 3 kitty-litter (or similar) buckets
- power drill
- 3/8th-inch drill bit
- 1/16-inch drill bit
- worms
- bedding (shredded paper or straw)
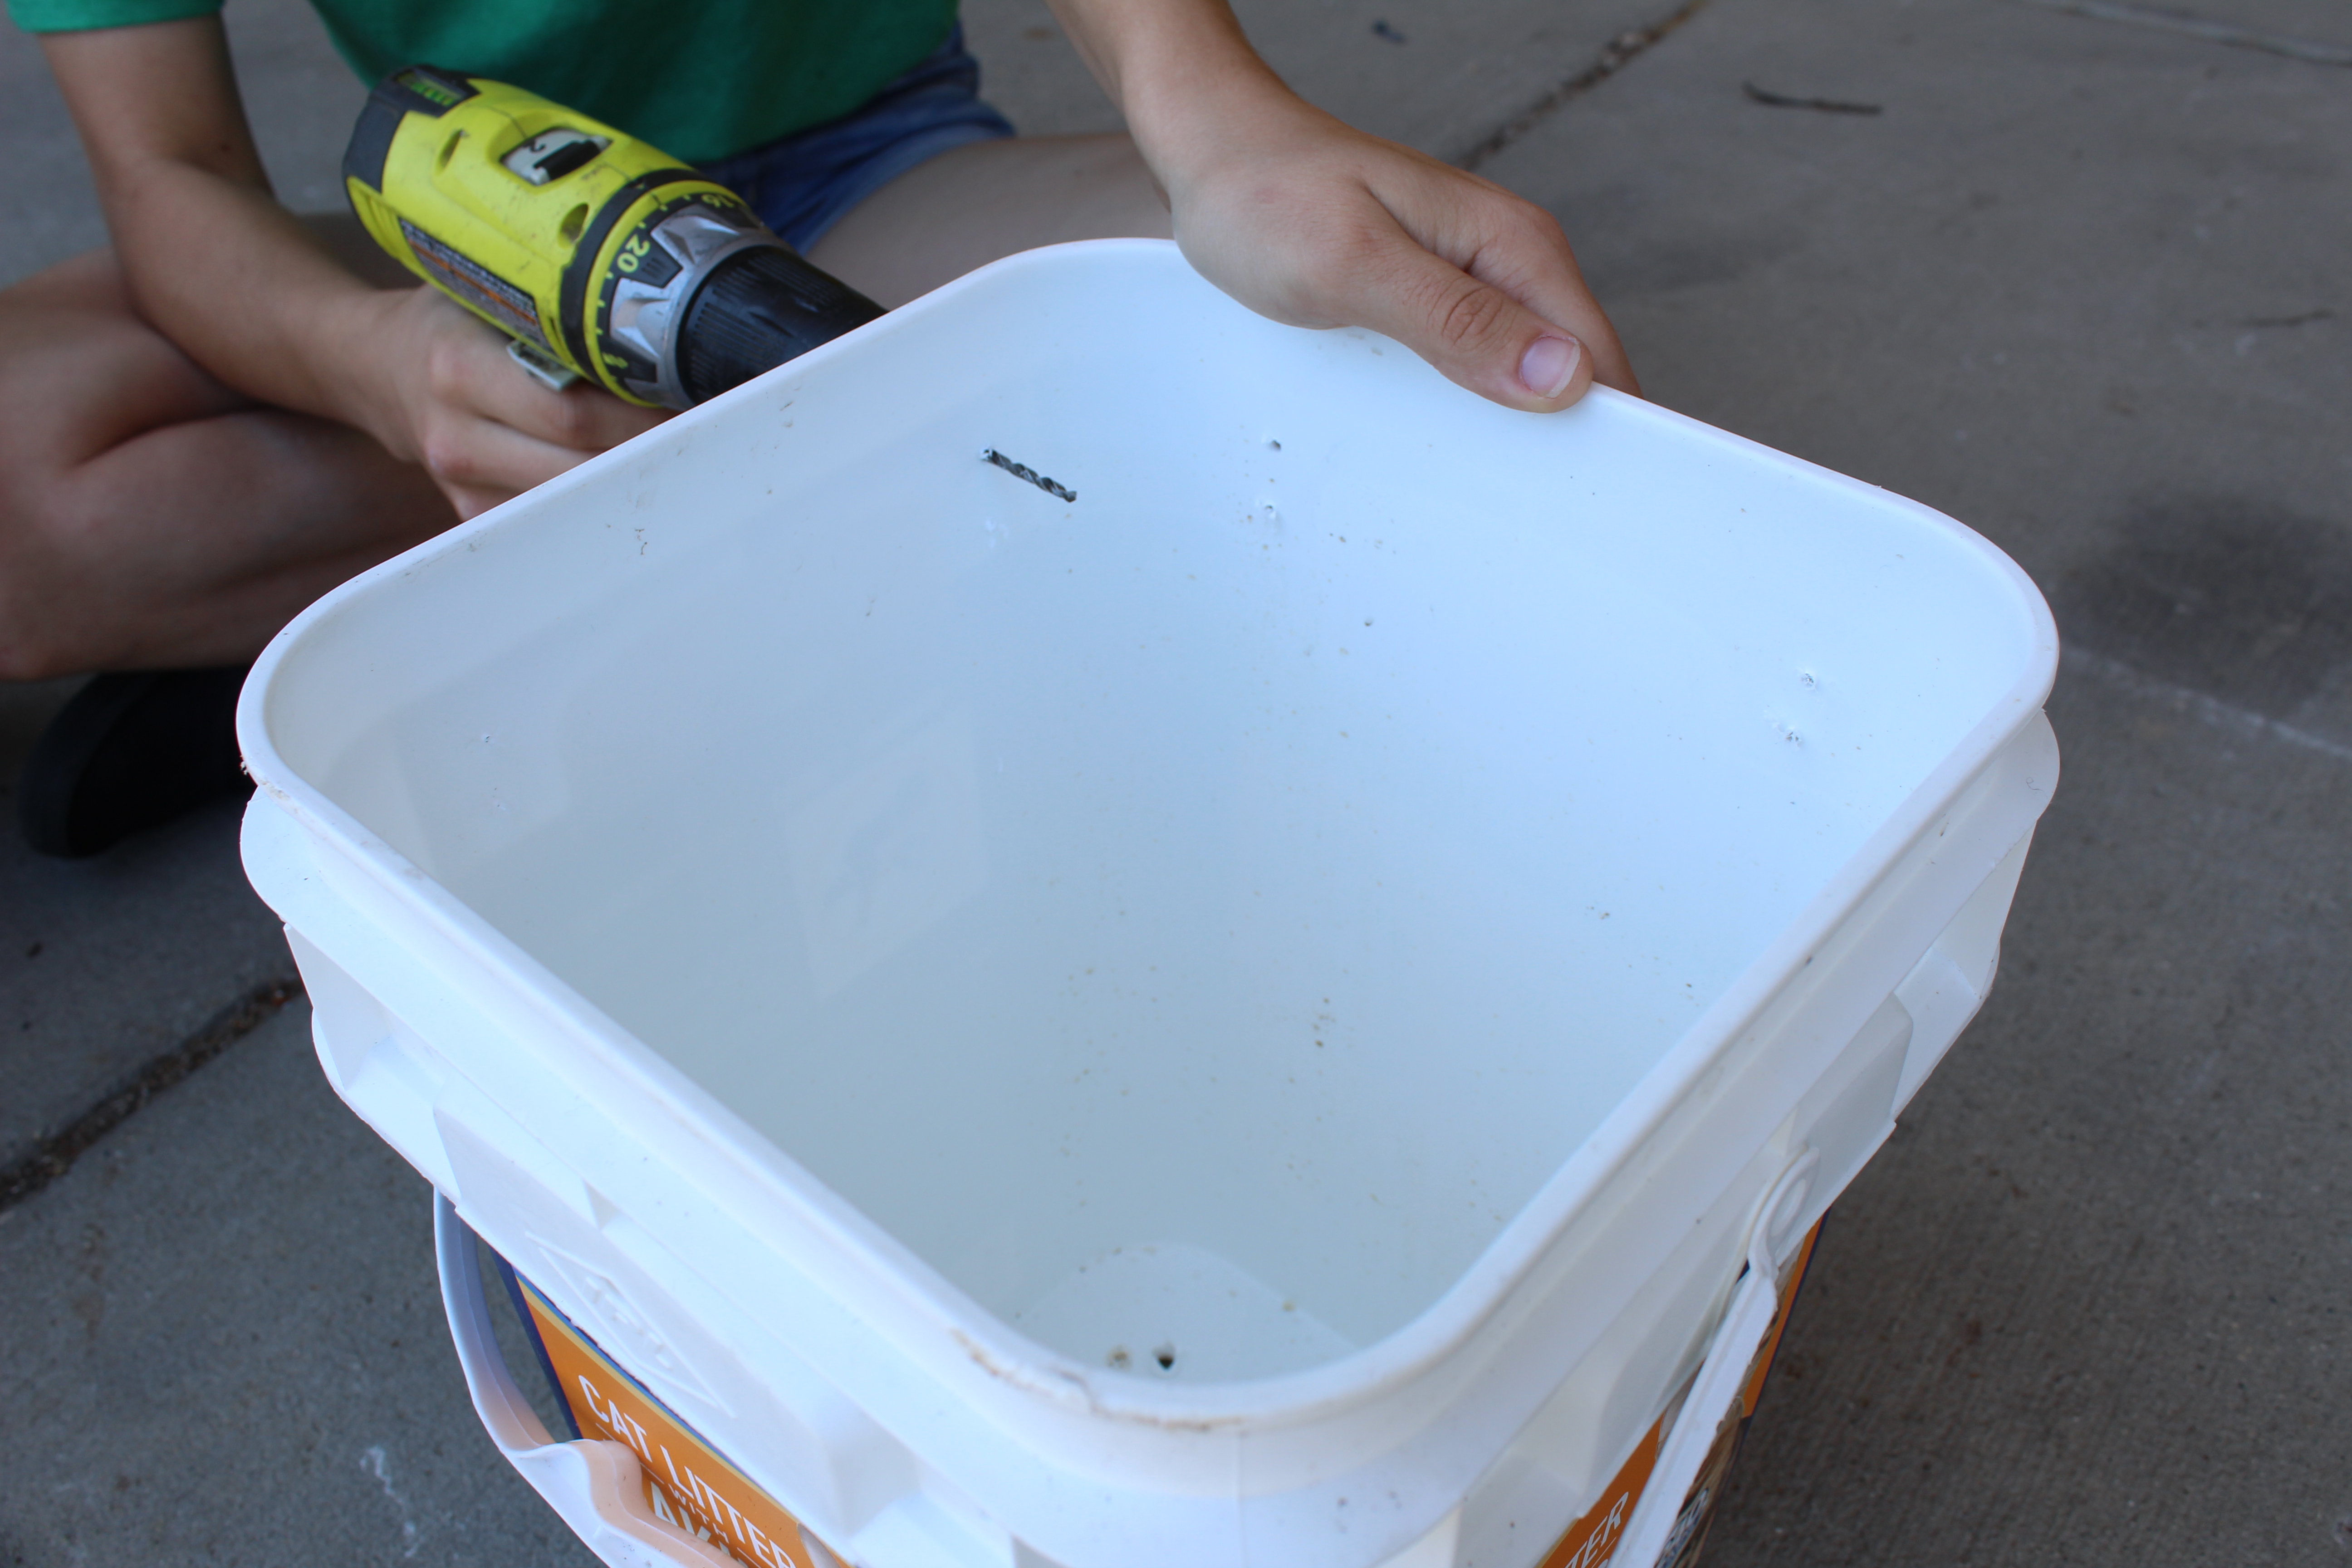
#1. Using the thicker bit, drill eight or more holes in the bottom of TWO buckets. The worms will crawl through these holes to reach the food waste.
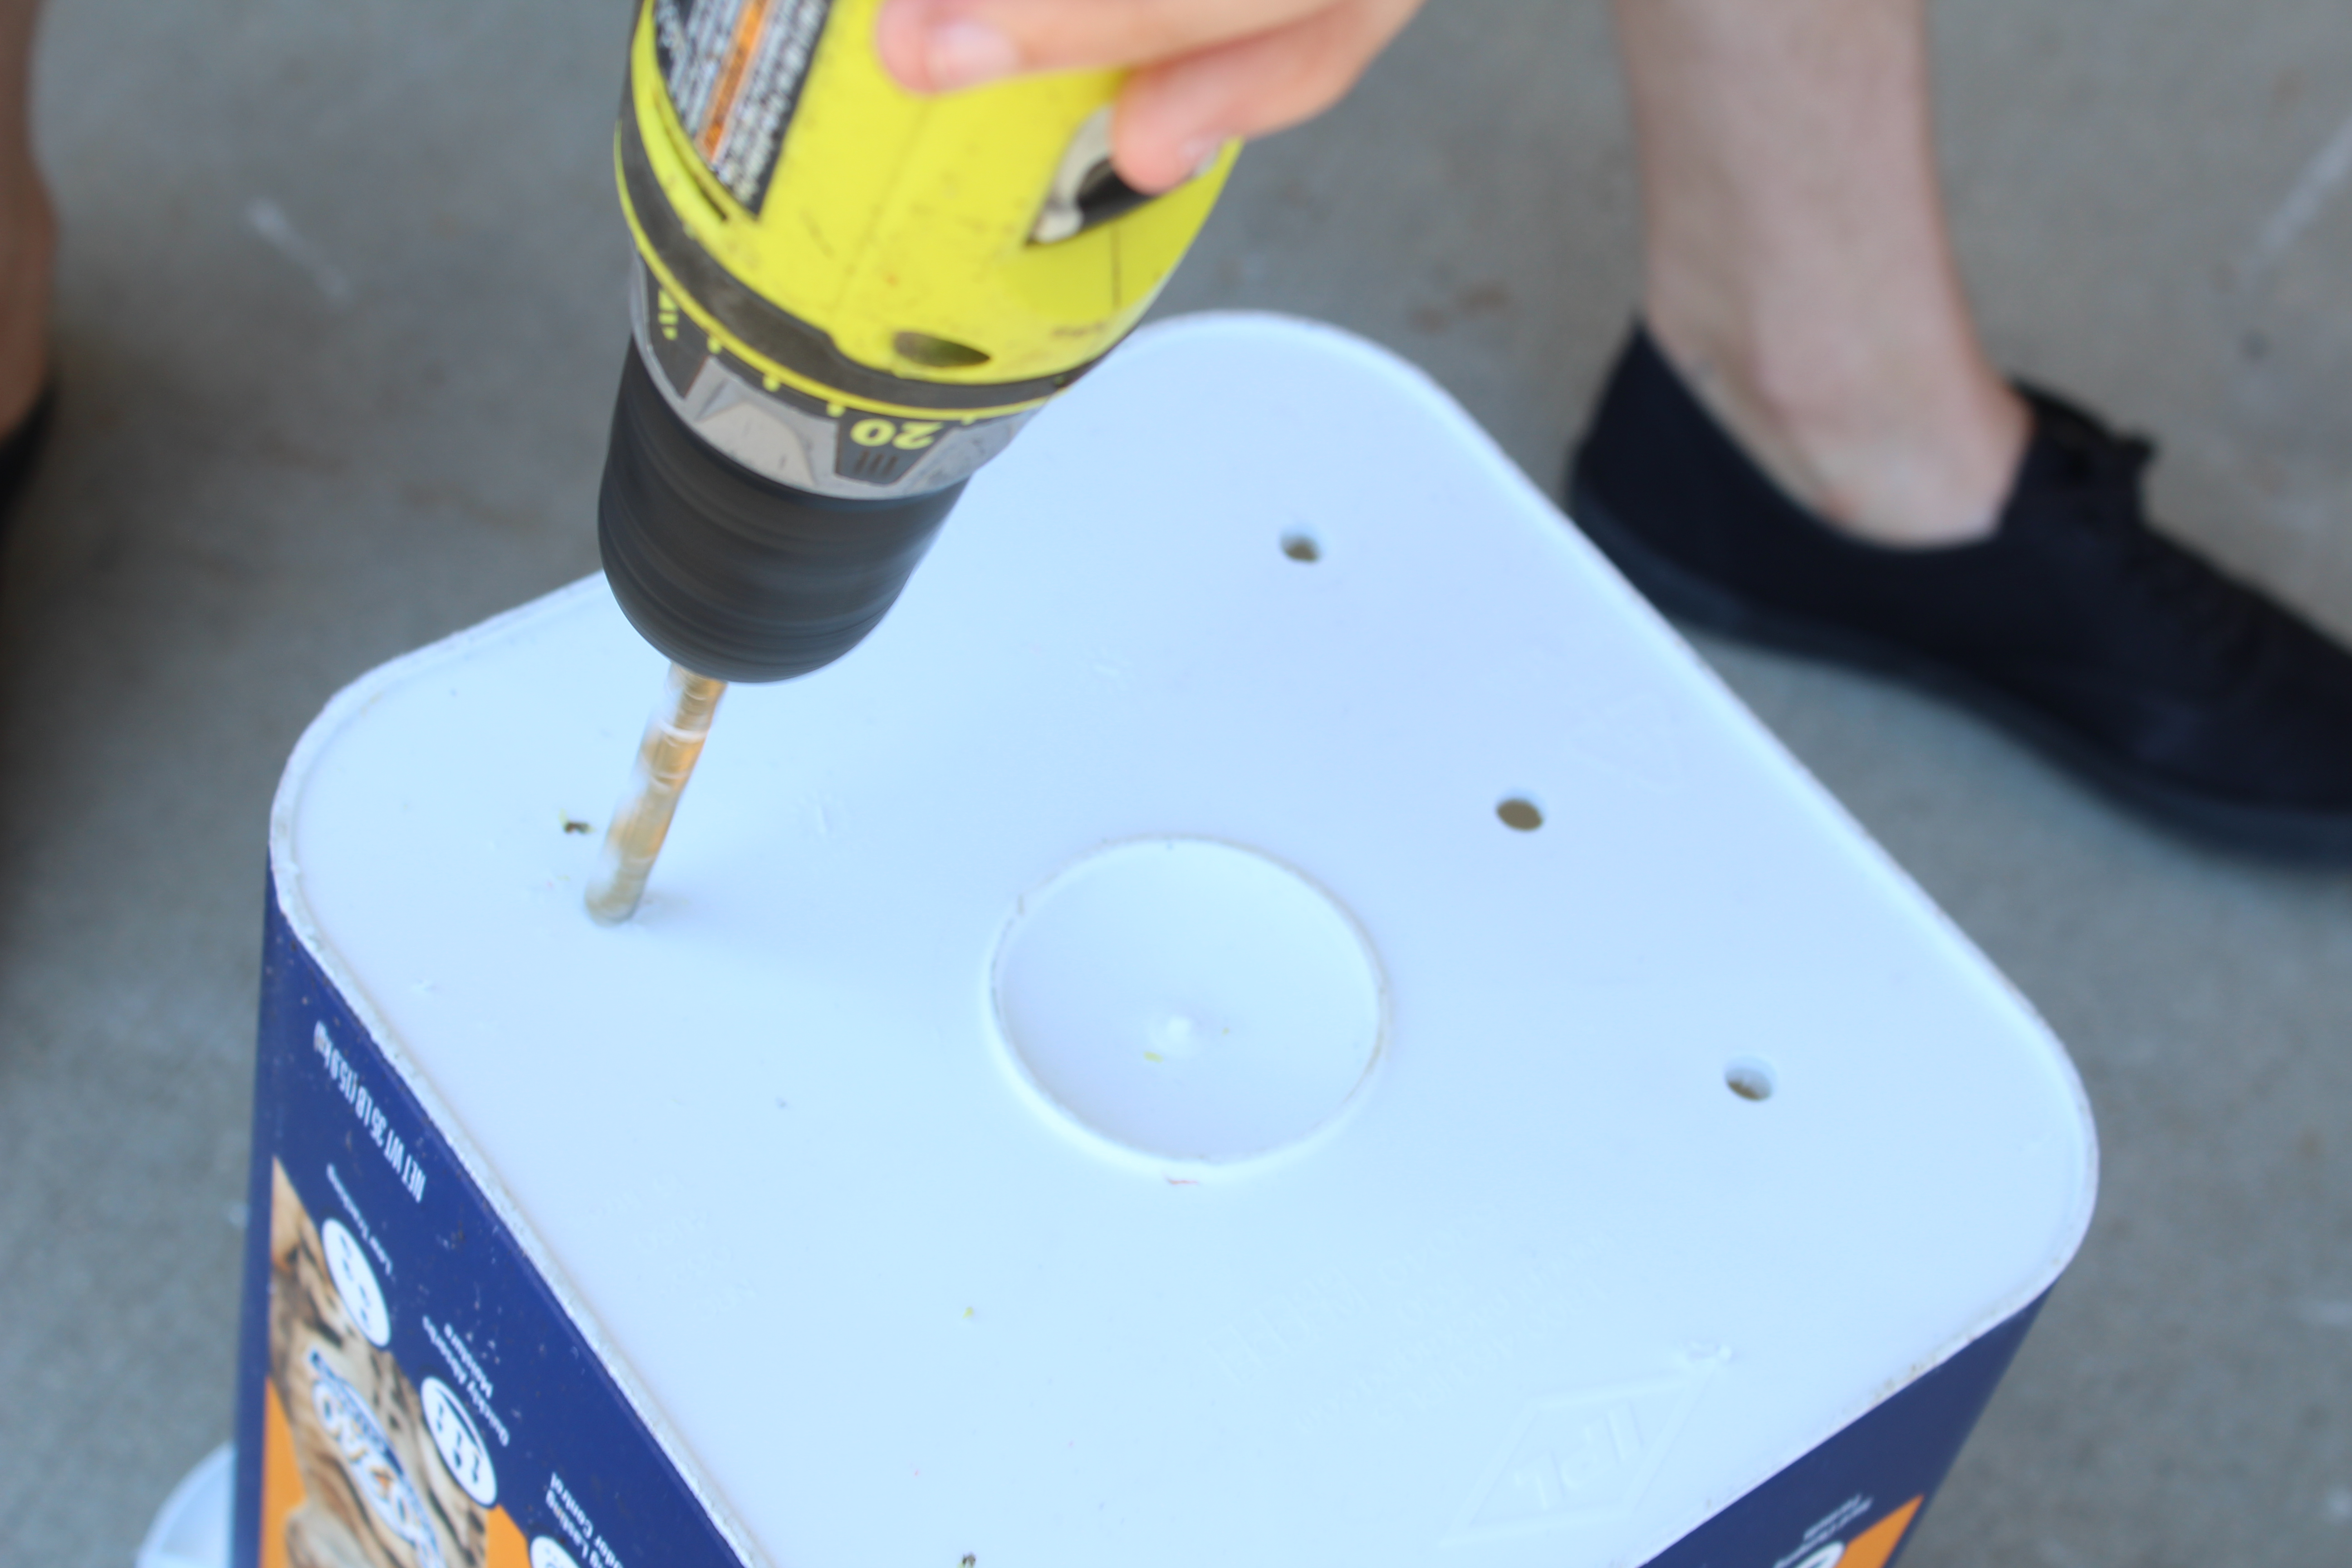
#2. With the smaller drill bit, create ventilation holes on the sides of the same buckets that have bottom holes. Make sure you drill the holes above where the buckets sit in each other when stacked. On our buckets, this meant drilling above the handle.
#3. Put the worms and bedding in a bucket with bottom holes -- this will be the top of your vermicompost tower. Stack your buckets so that the one without holes on the bottom is the base of the stack (it will catch any worms or debris that fall through the other two). From bottom to top, the order is: no-hole bucket, empty bucket with bottom holes, worm bucket with bottom holes.
#4. You may want a lid for your tower to keep critters or children from getting into your worms. Conveniently, the kitty litter buckets come with lids! Simply drill holes with the small bit into one lid. Voila.
HOW TO VERMICOMPOST WITH YOUR TOWER
Over time, add food scraps to the top bucket until it is about half full. Then, switch the top bucket with the middle bucket (the new order from bottom to top will now be: no-holes, worms, empty). Add some bedding to the empty bucket and begin adding food scraps. Once the worms have eaten the food in the middle bucket, they will make their way through the holes into the top bucket. Thus, you will have fresh compost in the middle bucket, free from worms and ready for your garden! At this point, you can start the process over again, moving your worms to the middle bucket once it's about half-full of food.
Bedding options
- Straw, shredded newspaper, paper tubes, cardboard
Food
- Always: fruits, vegetables, coffee grounds, bread, rice and other cooked grains, crushed eggshells
- Okay in moderation: Garlic, onion, citrus fruits
- Never: Meat, bones, dairy products, oils
Trouble Shooting
- Odor: Add more bedding
- Worms on outside of bin: Add more food
- Fruit Flies: Keep lid on or add mesh screen to top bucket
Lastly, don't forget to thank your worms each time you deliver your scraps... after all, they are doing all the work!